Fill the Sinus Cavity
Takeaways
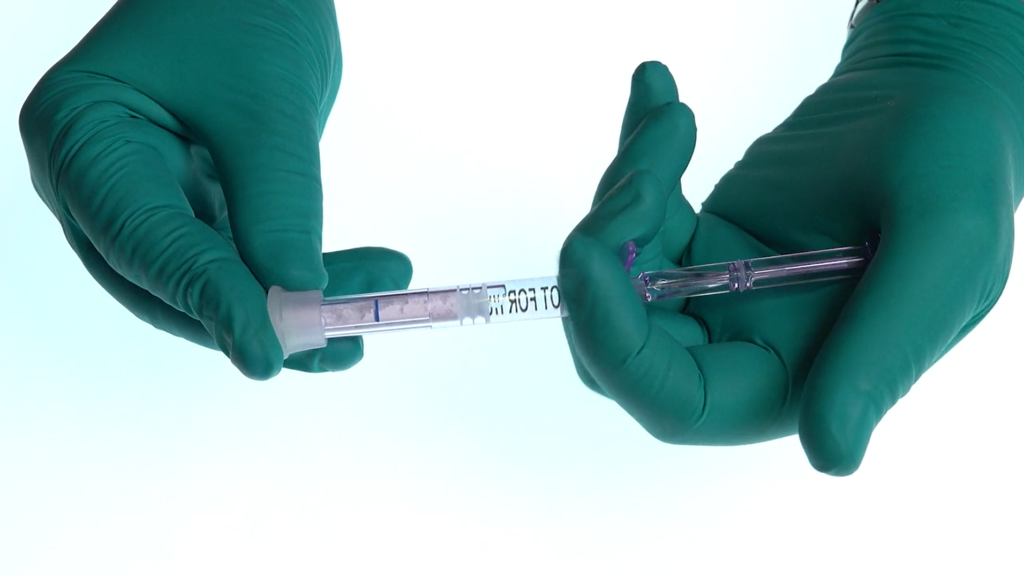
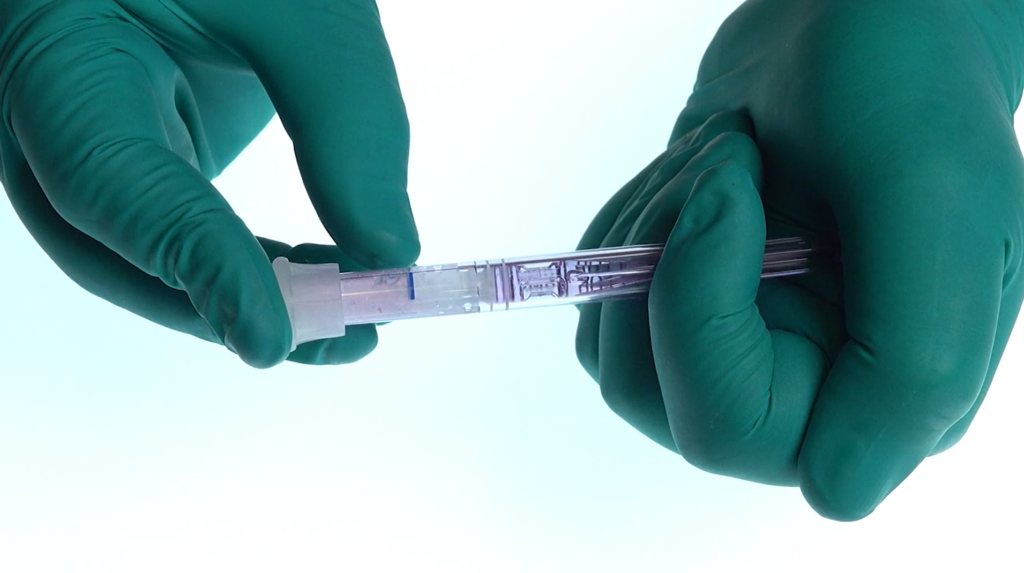
Activating Bond Apatite® – Key Points
- Place the shaft of the syringe against the palm of your hand.
- Place a finger on the cap of the syringe.
- Push slowly until the first piston reaches the indicator line.
- Remove the cap with a twisting and pulling motion.
- Prepare the graft for filling by activating the Bond Apatite® syringe and ejecting the contents into the dish provided with the kit.
- Place a sterile gauze above the material and press gently for 3- 4 seconds to slightly harden the material.
- Break the material into smaller fragments.
Filling the Sinus Cavity – Key Points
- Load the bone carrier syringe with the prepared material.
- Do not load the bone carrier syringe with a large amount of material.
- While inserting the material into the osteotomy, position the bone carrier syringe at the opening of the osteotomy.
- Do not push the nozzle of the bone carrier syringe into the osteotomy.
- Use the osteotome to insert the material into the sinus cavity through the osteotome, by setting the osteotome 1mm less than was used during sinus membrane elevation.
- Repeat the process of injecting the material and lowering the osteotome 1mm each time to continue filling the sinus.
- When sinus elevation is complete, use a sterile gauze to compact the material at the aperture of the osteotomy.
- Close the flap and wait 5 months until the next stage.
Osteotome Starting Point for Sinus Augmentation – Table
| Last Osteotome length on Sinus Elevation | Osteotome Starting point for Sinus Augmentation |
| 9mm | 8mm |
| 8mm | 7mm |
| 7mm | 6mm |
| 6mm | 5mm |
Additional Information
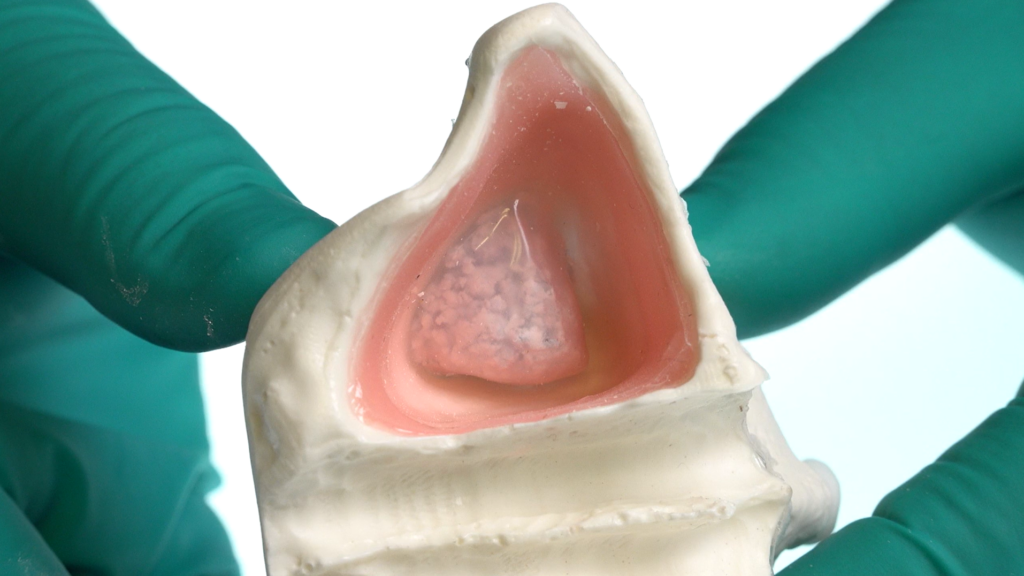
Appearance of sinus augmentation on a model